Cinnamon Roll Bliss Bars Recipe
Introduction
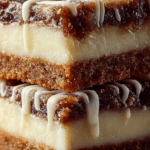
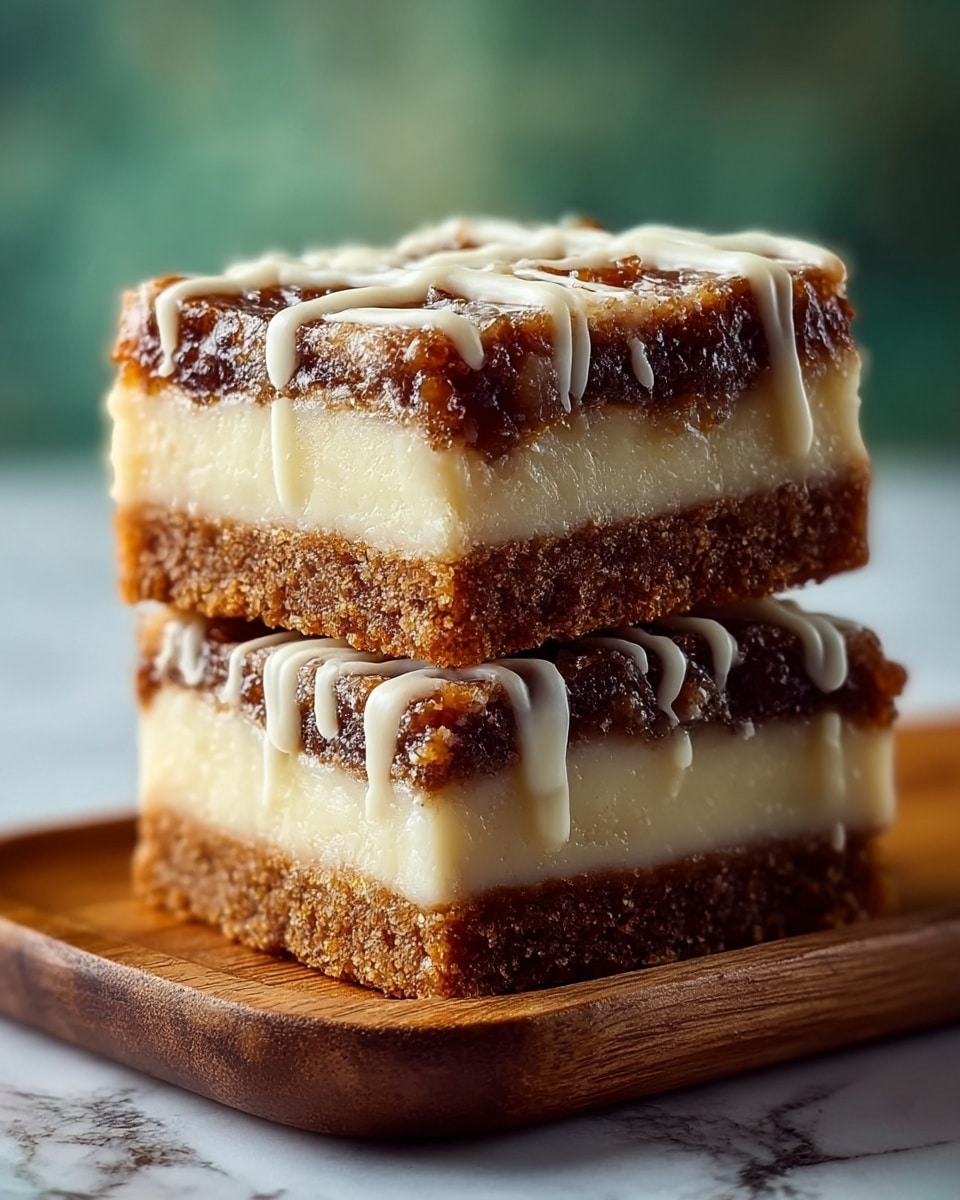
Cinnamon Roll Bliss Bars are a delightful twist on classic cinnamon rolls, offering the same warm, comforting flavors in a simple bar form. With a soft, tender batter and a creamy cream cheese icing, these bars are perfect for breakfast or dessert. Easy to make and irresistible to eat, they’re sure to become a household favorite.
Ingredients
- 2 cups all-purpose flour
- 1 cup brown sugar, packed
- 1/2 cup granulated sugar
- 1/2 cup unsalted butter, softened (room temperature)
- 1/4 cup milk (room temperature)
- 2 large eggs (room temperature)
- 2 teaspoons baking powder
- 1 teaspoon vanilla extract
- 1 teaspoon ground cinnamon
- 1/2 teaspoon salt
- 1/2 cup cream cheese, softened (room temperature, for icing)
- 1/2 cup powdered sugar (for icing)
- 1 tablespoon milk (for icing)
Instructions
- Step 1: Preheat the oven to 350°F (175°C) and grease a baking dish to prevent sticking.
- Step 2: In a large bowl, cream together the softened butter, brown sugar, and granulated sugar until the mixture is light and fluffy.
- Step 3: Beat in the eggs one at a time, then stir in the milk and vanilla extract until well combined.
- Step 4: In a separate bowl, whisk together the flour, baking powder, cinnamon, and salt.
- Step 5: Gradually add the dry ingredients to the wet ingredients, mixing just until combined. Avoid overmixing to keep the bars tender.
- Step 6: Pour the batter into the prepared baking dish and smooth the top evenly.
- Step 7: Bake for 20-25 minutes, or until a toothpick inserted into the center comes out clean.
- Step 8: While the bars cool, prepare the icing by mixing the cream cheese, powdered sugar, and milk until smooth and creamy.
- Step 9: Once the bars are completely cooled, drizzle the icing over the top and slice into squares to serve.
Tips & Variations
- Use room temperature ingredients to ensure a smooth batter and even baking.
- Avoid overmixing the batter to keep the bars soft and tender.
- Add chopped nuts or raisins to the batter for added texture and flavor.
- For a richer cinnamon flavor, sprinkle extra cinnamon on top before baking.
- For a dairy-free version, substitute butter with coconut oil and cream cheese with a non-dairy alternative.
Storage
Store leftover bars in an airtight container in the refrigerator for up to 4 days. Before serving, bring to room temperature or warm slightly in the microwave for a few seconds. The icing may firm up in the fridge but will soften nicely when warmed.
How to Serve
Serve this delicious recipe with your favorite sides.
FAQs
Can I make these bars ahead of time?
Yes, you can bake the bars a day in advance and store them covered in the refrigerator. Add the icing just before serving for the best texture.
Can I freeze Cinnamon Roll Bliss Bars?
Absolutely! Wrap the cooled bars tightly in plastic wrap and then foil. Freeze for up to 2 months. Thaw overnight in the refrigerator and add the icing before eating.
PrintCinnamon Roll Bliss Bars Recipe
Cinnamon Roll Bliss Bars are a delightful baked treat that captures the warm, comforting flavors of classic cinnamon rolls in an easy-to-make bar form. Soft, tender, and topped with a creamy cinnamon-infused icing, these bars are perfect for breakfast or a sweet snack.
- Prep Time: 15 minutes
- Cook Time: 25 minutes
- Total Time: 40 minutes
- Yield: 12 bars 1x
- Category: Breakfast
- Method: Baking
- Cuisine: American
Ingredients
For the Batter
- 2 cups all-purpose flour
- 1 cup brown sugar, packed
- 1/2 cup granulated sugar
- 1/2 cup unsalted butter, softened (room temperature)
- 1/4 cup milk (room temperature)
- 2 large eggs (room temperature)
- 2 teaspoons baking powder
- 1 teaspoon vanilla extract
- 1 teaspoon ground cinnamon
- 1/2 teaspoon salt
For the Icing
- 1/2 cup cream cheese, softened (room temperature)
- 1/2 cup powdered sugar
- 1 tablespoon milk (for icing)
Instructions
- Preheat and Prepare the Baking Dish: Preheat your oven to 350°F (175°C) and grease a baking dish thoroughly to ensure the bars do not stick.
- Cream Butter and Sugars: In a large mixing bowl, cream together softened unsalted butter, brown sugar, and granulated sugar until the mixture is light, fluffy, and well combined. This step helps create a tender texture.
- Add Eggs and Liquids: Beat in the eggs one at a time to the creamed butter and sugar mixture. Then stir in the milk and vanilla extract, mixing until just incorporated.
- Combine Dry Ingredients: In a separate bowl, whisk together the all-purpose flour, baking powder, ground cinnamon, and salt to evenly distribute the leavening and spices.
- Mix Dry Ingredients into Wet: Gradually add the dry ingredient mixture into the wet ingredients, folding gently until just combined to avoid overmixing, which can result in tough bars.
- Pour and Bake: Pour the batter into the prepared baking dish and smooth the top with a spatula. Bake in the preheated oven for 20-25 minutes or until a toothpick inserted into the center comes out clean, indicating doneness.
- Prepare the Icing: While the bars cool, mix together the softened cream cheese, powdered sugar, and milk until smooth and creamy, perfect for drizzling.
- Ice and Serve: Once the bars have completely cooled, drizzle the cream cheese icing evenly over the top. Slice into squares and serve.
Notes
- Use room temperature ingredients to ensure smooth mixing and even baking.
- Avoid overmixing the batter to prevent dense or tough bars.
- Allow the bars to cool completely before icing to prevent the icing from melting and sliding off.
- These bars can be stored in an airtight container in the refrigerator for up to 4 days.
- For a stronger cinnamon flavor, sprinkle a bit of extra cinnamon over the icing before it sets.
Keywords: Baked Treats, Cinnamon Bars, Cinnamon Roll Bliss Bars, Dessert Bars, Easy Recipes