Delicious Mini Cheese Danish Recipe
Introduction
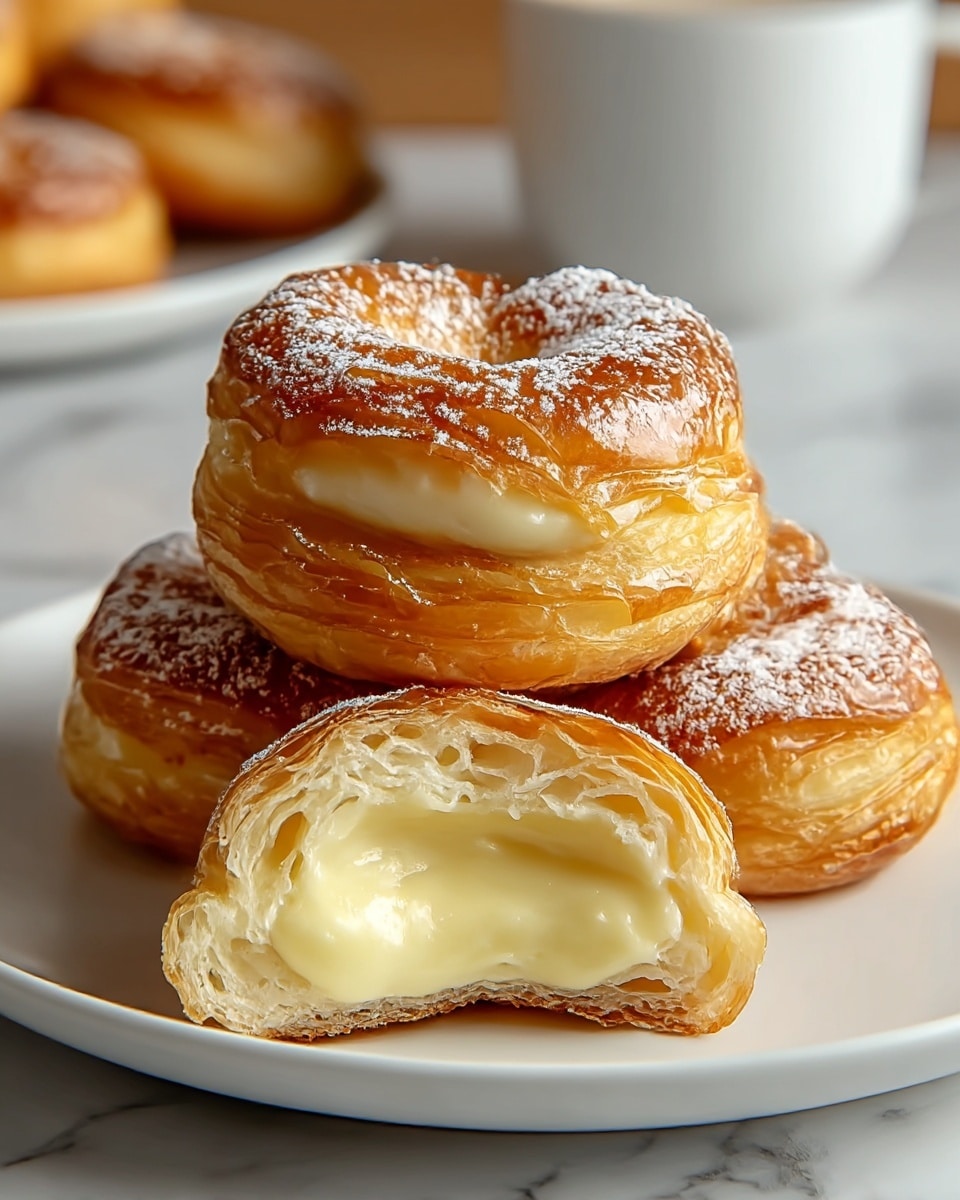
These Delicious Mini Cheese Danish are perfect for a cozy breakfast or an elegant brunch. Made with flaky puff pastry and a creamy sweet cheese filling, they are simple to prepare and delightful to eat.
Ingredients
- 1 package Puff Pastry (store-bought)
- 8 oz Cream Cheese (softened)
- 1/4 cup Granulated Sugar (can substitute with sugar alternative)
- 1 tsp Vanilla Extract (use pure extract for best flavor)
- 1 tbsp Lemon Juice (optional)
- 1 beaten Egg (can be replaced with milk)
- 1 cup Powdered Sugar (no direct replacement)
- 1 tbsp Milk (dairy-free options available)
Instructions
- Step 1: Preheat your oven to 400°F (200°C) and line a baking sheet with parchment paper.
- Step 2: Unfold the thawed puff pastry on a lightly floured surface and cut it into 3×3 inch squares.
- Step 3: In a mixing bowl, combine the softened cream cheese, granulated sugar, vanilla extract, and lemon juice. Mix until smooth.
- Step 4: Spoon about 1 tablespoon of the cream cheese mixture into the center of each pastry square.
- Step 5: Fold the corners of each square toward the center or leave them open-faced, depending on your preference.
- Step 6: Brush the edges of each pastry with the beaten egg for a shiny finish.
- Step 7: Place the pastries on the lined baking sheet and bake for 15-18 minutes until golden brown.
- Step 8: Let the Mini Cheese Danish cool slightly on a wire rack.
- Step 9: Prepare the glaze by whisking together powdered sugar and milk until smooth, then drizzle over the danish.
- Step 10: Serve warm for the ultimate treat alongside your favorite coffee or tea.
Tips & Variations
- For a citrus twist, add a teaspoon of orange zest to the cream cheese filling.
- Use all-butter puff pastry for extra flakiness and flavor.
- Substitute the powdered sugar glaze with a drizzle of honey for a natural sweetness.
- To make them dairy-free, use dairy-free cream cheese and plant-based milk.
- Try adding fresh fruit like blueberries or raspberries on top before baking for added flavor.
Storage
Store leftover Mini Cheese Danish in an airtight container at room temperature for up to 2 days. For longer storage, refrigerate for up to 5 days, then warm briefly in the oven before serving to restore crispness. These pastries do not freeze well once glazed.
How to Serve
Serve this delicious recipe with your favorite sides.
FAQs
Can I make the cream cheese filling ahead of time?
Yes, prepare the cream cheese filling up to 24 hours in advance and keep it refrigerated tightly covered. Bring it to room temperature before assembling the pastries for easier spreading.
What can I use instead of puff pastry?
If puff pastry is not available, you can try using phyllo dough for a lighter texture or croissant dough for a richer, buttery flavor, although baking times and results will vary.
PrintDelicious Mini Cheese Danish Recipe

Delicious Mini Cheese Danish are flaky, buttery pastries filled with a creamy sweetened cream cheese filling and topped with a smooth powdered sugar glaze. These bite-sized treats are perfect for breakfast, brunch, or an indulgent snack, offering a delightful combination of crisp puff pastry and rich cream cheese sweetness.
- Prep Time: 15 minutes
- Cook Time: 15-18 minutes
- Total Time: 30-35 minutes
- Yield: 12 mini cheese Danish 1x
- Category: Breakfast, Dessert
- Method: Baking
- Cuisine: American, European
Ingredients
Pastry:
- 1 package Puff Pastry (store-bought, thawed)
Filling:
- 8 oz Cream Cheese (softened)
- 1/4 cup Granulated Sugar (can substitute with sugar alternative)
- 1 tsp Vanilla Extract (pure for best flavor)
- 1 tbsp Lemon Juice (optional)
Finishing:
- 1 beaten Egg (can be replaced with milk)
Glaze:
- 1 cup Powdered Sugar (no direct replacement)
- 1 tbsp Milk (dairy-free options available)
Instructions
- Preheat the Oven: Preheat your oven to 400°F (200°C) and line a baking sheet with parchment paper to prevent sticking and promote even baking.
- Prepare the Pastry Squares: Unfold the thawed puff pastry on a lightly floured surface and cut it into 3×3 inch squares, ensuring they are evenly sized for consistent baking.
- Make the Cream Cheese Filling: In a mixing bowl, combine the softened cream cheese, granulated sugar, vanilla extract, and lemon juice. Mix thoroughly until the filling is smooth and creamy.
- Fill the Pastry: Spoon about 1 tablespoon of the cream cheese mixture into the center of each pastry square, spreading it slightly but keeping it centered to avoid leakage during baking.
- Shape the Danish: Fold the corners of each square toward the center to create a traditional Danish shape or leave them open-faced if you prefer. This step affects the final appearance and texture slightly.
- Apply Egg Wash: Brush the edges of each pastry with the beaten egg to give them a shiny, golden-brown finish after baking.
- Bake: Place the pastries on the prepared baking sheet and bake in the preheated oven for 15-18 minutes until the puff pastry is puffed up and golden brown.
- Cool: Remove from the oven and let the Mini Cheese Danish cool slightly on a wire rack to prevent sogginess and allow the pastry to set.
- Prepare the Glaze: In a small bowl, whisk together the powdered sugar and milk until smooth and pourable.
- Drizzle the Glaze: Drizzle the glaze over the slightly cooled Danish pastries, allowing it to set before serving.
- Serve: Serve the Mini Cheese Danish warm alongside your favorite coffee or tea for a delightful treat.
Notes
- Ensure the cream cheese is softened to room temperature before mixing to achieve a smooth filling.
- Thaw puff pastry completely before cutting to avoid cracking or uneven edges.
- You can leave the Danish open-faced or fold in the corners depending on your preference.
- The lemon juice is optional but adds a bright note to the filling.
- Use beaten egg or milk for brushing to achieve either a shiny or matte finish on your pastry.
- The glaze is best applied when the pastries have cooled slightly to prevent melting.
Keywords: Mini Cheese Danish, Puff Pastry Dessert, Cream Cheese Pastry, Breakfast Pastry, Sweet Danish