Strawberry Crumb Bars Recipe
Introduction
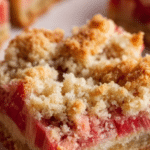
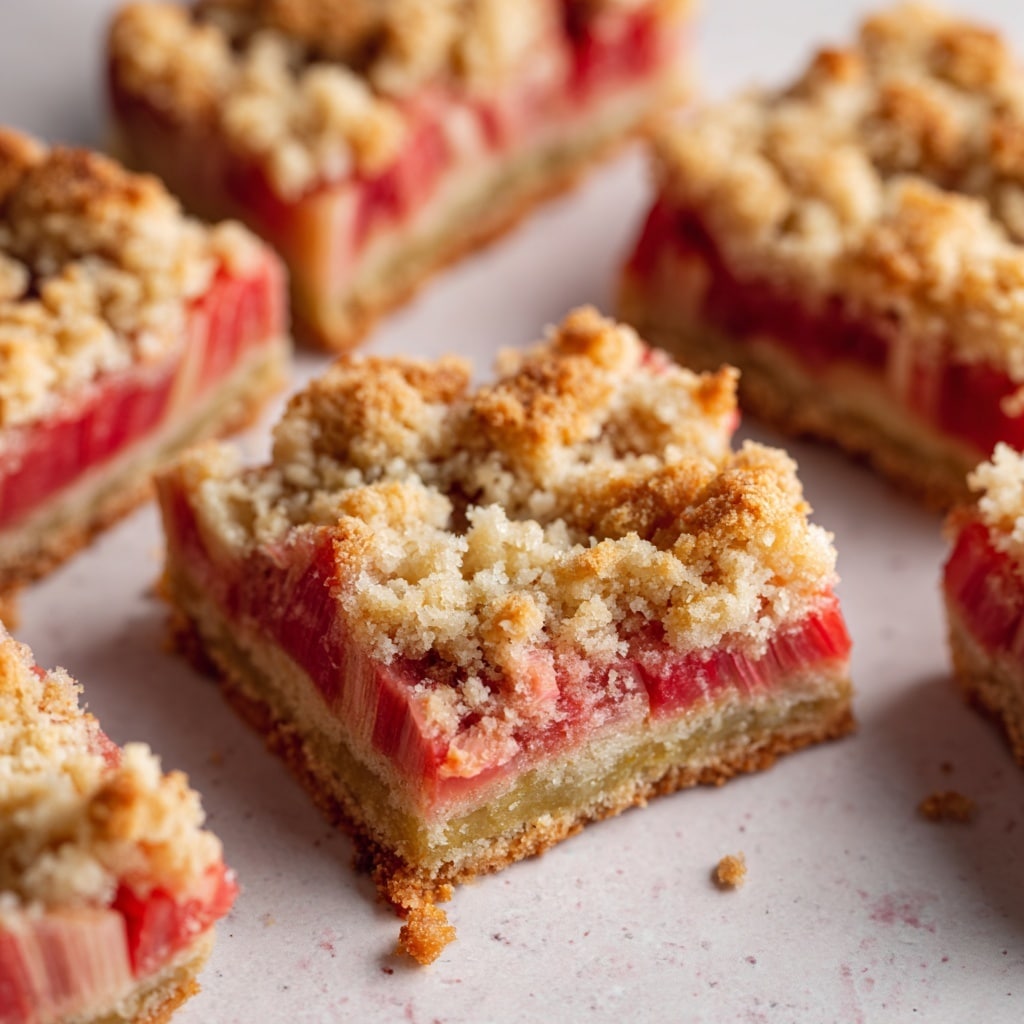
Strawberry Crumb Bars are a delightful, buttery treat featuring a crumbly crust and a sweet, fresh strawberry filling. Perfect for summer gatherings or a simple dessert, these bars combine vibrant fruit flavors with a tender, crunchy topping.
Ingredients
- 1/2 cup white sugar
- 1/2 teaspoon baking powder
- 1 1/2 cups all-purpose flour
- 1/4 teaspoon salt
- 1/2 cup very cold butter (8 tablespoons or 1 stick)
- 1 egg, beaten
- 1 teaspoon vanilla
- 2 cups fresh strawberries, chopped
- 1/3 cup white sugar
- 2 teaspoons cornstarch
Instructions
- Step 1: Preheat the oven to 375 degrees F. Line the bottom of an 8×8 inch pan with parchment paper, allowing it to overhang the edges for easy removal.
- Step 2: In a medium bowl, combine 1/2 cup sugar, flour, baking powder, and salt. Cut the very cold butter into the flour mixture using a fork, pastry cutter, or food processor until the mixture resembles small pea-sized crumbs.
- Step 3: Beat the egg in a small bowl and add it along with vanilla to the flour mixture. Stir until it forms a crumbly dough.
- Step 4: Press half of the dough evenly into the bottom of the prepared pan to form the crust.
- Step 5: In a separate bowl, mix 1/3 cup sugar with cornstarch, then stir in the chopped strawberries until well coated.
- Step 6: Spread the strawberry mixture evenly over the crust in the pan.
- Step 7: Crumble the remaining dough over the strawberry layer to cover it.
- Step 8: Bake for 45 minutes or until the topping is lightly golden brown. Ovens vary, so check as early as 38 minutes.
- Step 9: Allow the bars to cool completely in the pan before using the parchment paper to lift them out. Refrigerate until ready to serve for best results.
Tips & Variations
- Make sure the butter is very cold to achieve the perfect crumbly texture in the crust and topping.
- For a twist, try adding a teaspoon of lemon zest to the strawberry filling for extra brightness.
- You can swap strawberries for blueberries or raspberries for different fruit variations.
- Using parchment paper makes removing the bars from the pan much easier and helps keep their shape intact.
Storage
Store the strawberry crumb bars in an airtight container in the refrigerator for up to 4 days. They can be served chilled or at room temperature. To reheat, warm gently in the microwave for 15-20 seconds to soften slightly without losing the crumbly texture.
How to Serve
Serve this delicious recipe with your favorite sides.
FAQs
Can I use frozen strawberries instead of fresh?
Yes, you can use frozen strawberries, but be sure to thaw and drain them well to avoid excess moisture that could make the bars soggy.
How do I make the crumb topping more crunchy?
Use very cold butter and avoid overmixing to keep the crumbs distinct. Baking just until golden brown also helps maintain a crunchy texture.
PrintStrawberry Crumb Bars Recipe

These delightful Strawberry Crumb Bars feature a buttery, crumbly crust layered with a sweet and tangy fresh strawberry filling. Baked to golden perfection, they are perfect for a summer dessert or snack, combining the freshness of strawberries with a rich crumb topping for a delicious treat.
- Prep Time: 15 minutes
- Cook Time: 45 minutes
- Total Time: 1 hour
- Yield: 9 servings 1x
- Category: Dessert
- Method: Baking
- Cuisine: American
Ingredients
Crust and Crumb Topping
- 1/2 cup white sugar
- 1/2 teaspoon baking powder
- 1 1/2 cups all-purpose flour
- 1/4 teaspoon salt
- 1/2 cup very cold butter (8 tablespoons or 1 stick)
- 1 egg, beaten
- 1 teaspoon vanilla extract
Strawberry Filling
- 2 cups fresh strawberries, chopped
- 1/3 cup white sugar
- 2 teaspoons cornstarch
Instructions
- Preheat Oven: Preheat your oven to 375 degrees Fahrenheit to prepare for baking the crumb bars.
- Prepare Pan: Line the bottom of an 8×8-inch baking pan with parchment paper, leaving overhang on the sides to easily lift the bars out after baking.
- Mix Dry Ingredients for Crust: In a medium bowl, combine 1/2 cup white sugar, all-purpose flour, baking powder, and salt, stirring well to distribute evenly.
- Cut in Butter: Using a fork, pastry cutter, or food processor, cut cold butter into the flour mixture until the dough resembles pea-sized crumbs; keep the butter very cold for the best crumb texture.
- Add Egg and Vanilla: Beat the egg lightly in a separate bowl, then add it along with vanilla extract to the crumb mixture. Combine until the mixture forms a crumbly dough.
- Form Base Crust: Press half of the crumb dough evenly into the bottom of the prepared baking pan to form the base layer.
- Prepare Strawberry Filling: In a separate bowl, stir together 1/3 cup sugar and cornstarch until blended, then fold in the chopped strawberries.
- Layer Strawberries: Spread the strawberry filling evenly over the base crust in the pan.
- Add Crumb Topping: Crumble the remaining dough evenly over the strawberry layer, covering it as best as possible.
- Bake: Place the pan in the preheated oven and bake for approximately 45 minutes, or until the top is lightly golden brown. Note that baking time may vary; this recipe baked in about 38 minutes in a hotter oven.
- Cool and Chill: Remove from the oven and allow the bars to cool completely in the pan. For optimal slicing and serving, refrigerate until ready to serve.
Notes
- Ensure butter is very cold to achieve the best crumb texture.
- Line the baking pan with parchment paper with overhang for easy removal of bars.
- Use fresh, ripe strawberries for the best flavor and texture.
- Refrigerate bars after cooling for easier cutting and better consistency.
- Baking times can vary depending on the oven temperature; watch for a golden brown top.
Keywords: Strawberry crumb bars, berry dessert, crumb topping, easy baking, fresh strawberry bars, summer dessert, fruit bars